How to send emails with Azure Communication Services
Introduction
There are multiple email sending services like SendGrid, EmailOctopus, postmark etc.
All of them are great, and usually has good free tier and roughly $10 per month for 10k emails.
But if you are already using Azure for some reason or if you like to write your own implementations, you can use Azure Commuication Service + Azure email service.
The goal of this article is to document what I had to do to set it up, so I can do it again next time. Because it wasn't as easy as I thought it would be.
Azure Communication Service
Azure Communication Services is a fully managed platform that supports text, voice, video and emails.
Email Communication Service is a part of Azure Communication Services.
How to set it up
Pre requisites
- go to Azure portal (https://portal.azure.com/)
- assuming you have Azure account, subscription, and resource group.
Create Email Communication Service
First I prefer to start with Email Communication service because it's most time consuming part.
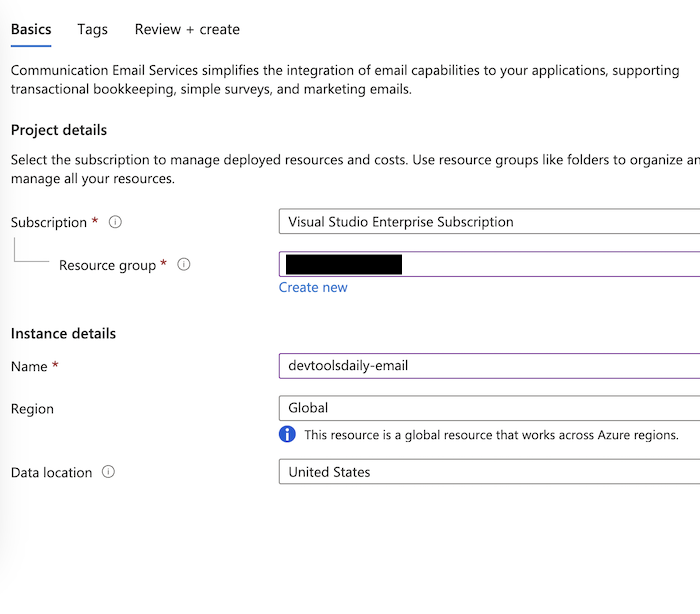
create new resource
- create new resource in Azure portal.
- search for "Communication Services" and pick "Email Communication Service".
- pick any descriptive (to yourself) name, and click "Create".
Add custom domain
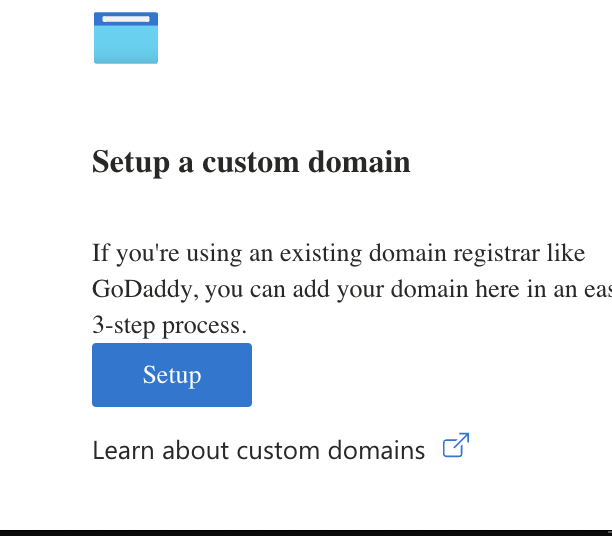
- open your new resource
- click "Setup custom domain"
- choose your email domain. I used a subdomain of my domain, like
notifications.devtoolsdaily.com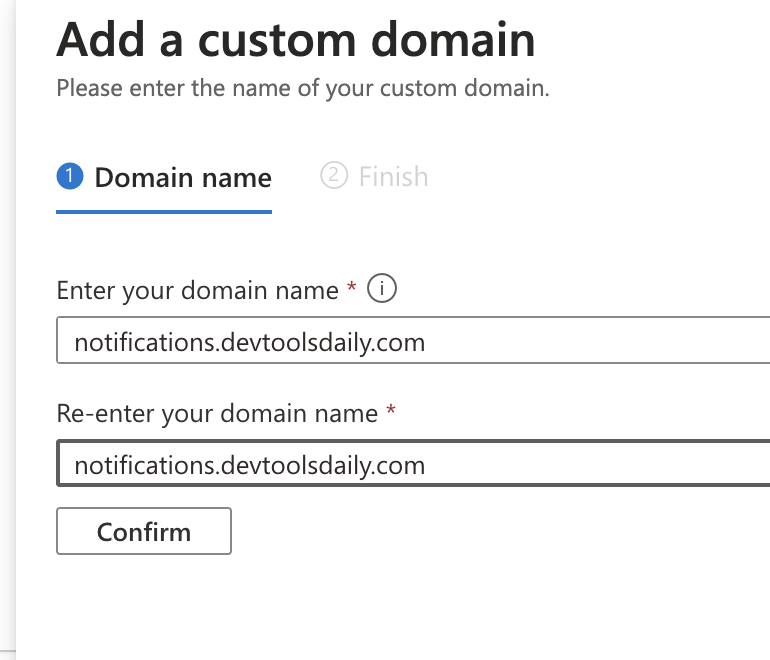
Verify custom domain
- verify your domain. You need to add some DNS records to your domain. Azure will give you the values.
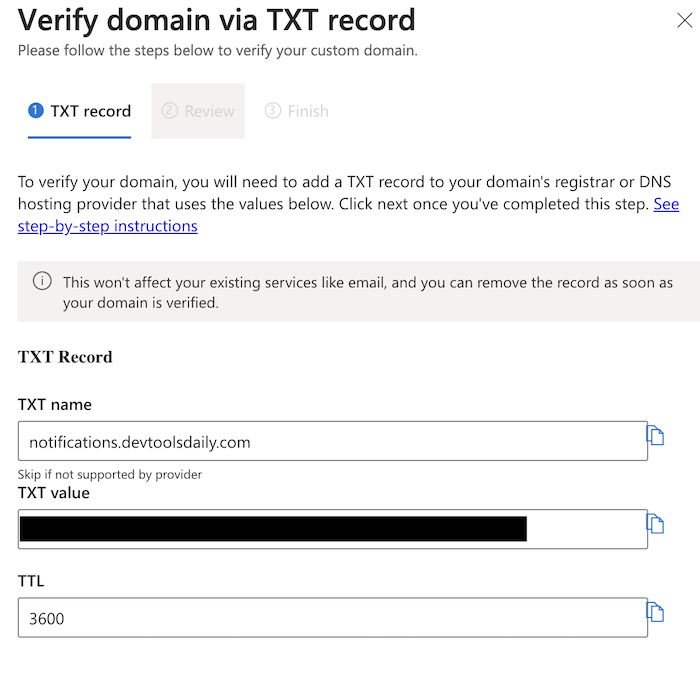
- paste the values in your DNS provider:
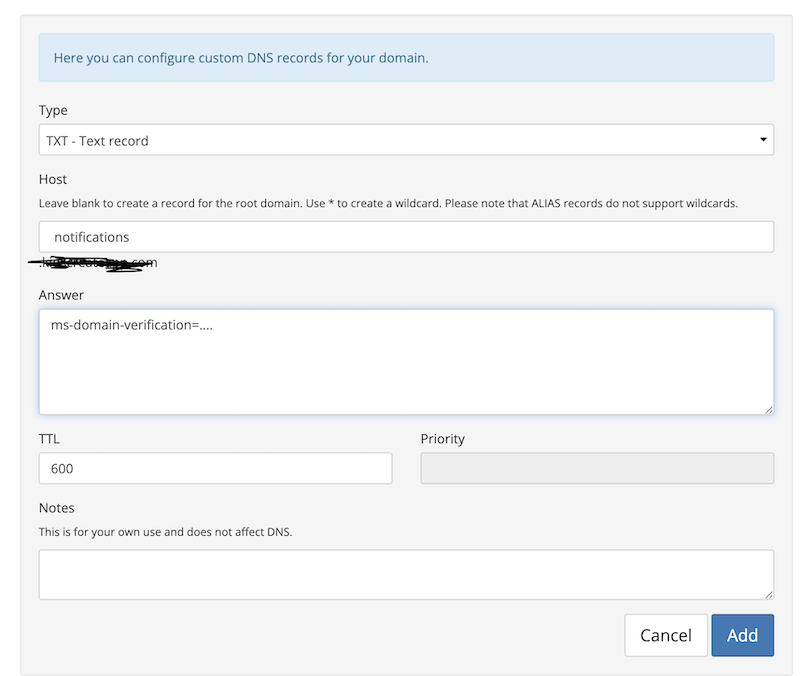
Here is an example for Netlify:
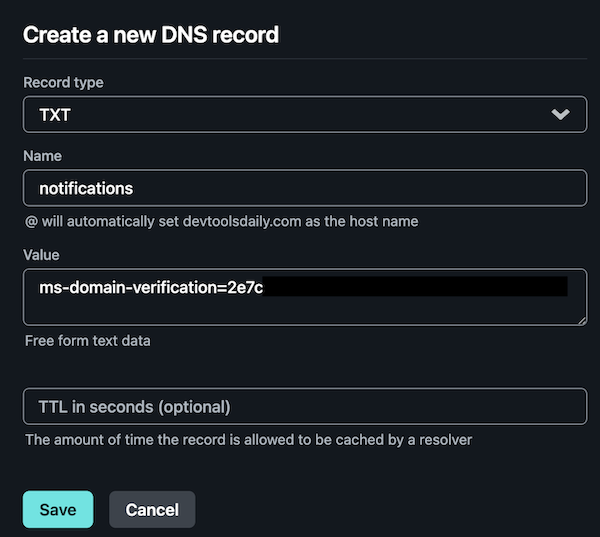
And here is porkbun:
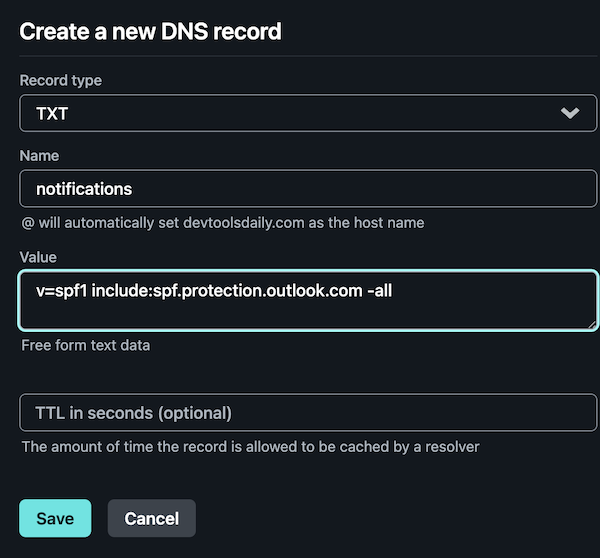
Configurate SPF and DKIM records
These are important for email deliverability.
-
Azure will tell you which values to put for SPF
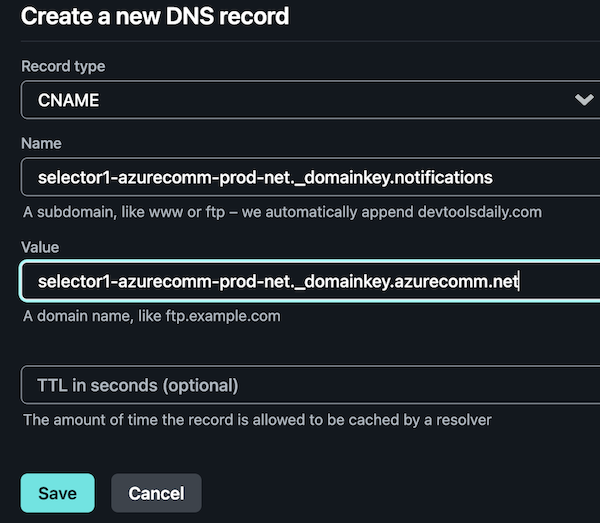
-
DKIM IMPORTANT - add your subdomain e.g Azure tells you to add
selector1-azurecomm-prod-net._domainkey
but you want to add
selector1-azurecomm-prod-net._domainkey.notifications
as a CNAME record
- wait for Azure verification and DNS propagation.

Create MailFrom address
By default Azure provides with DoNotReply email address. which isn't even customizable. (at least at the moment of writing on Aug 14 2024)
UI has disabled "Create" button for custom MailFrom address.
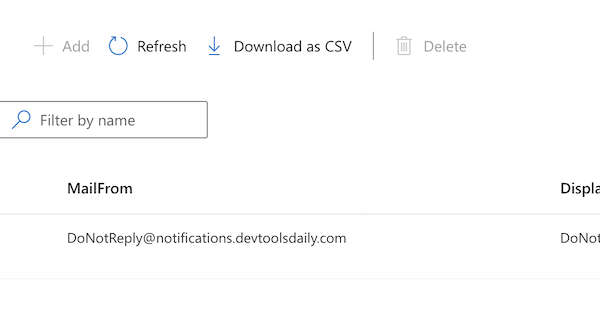
but management via azure cli is possible.
az communication email domain sender-username create \
  --domain-name notifications.devtoolsdaily.com  \
  --email-service-name devtoolsdaily-email \
  --resource-group <Your group> \
  --subscription <Your subscription> \
  --display-name "DevToolsDaily team" \
  --name "no-reply" \
  --username "no-reply"
Now we need to create Communication Service
- same as before, create new resource in Azure portal. but now with type "Communication Services"
- give it a name, e.g "devtoolsdaily-comms" and click "Create"
- go to resource
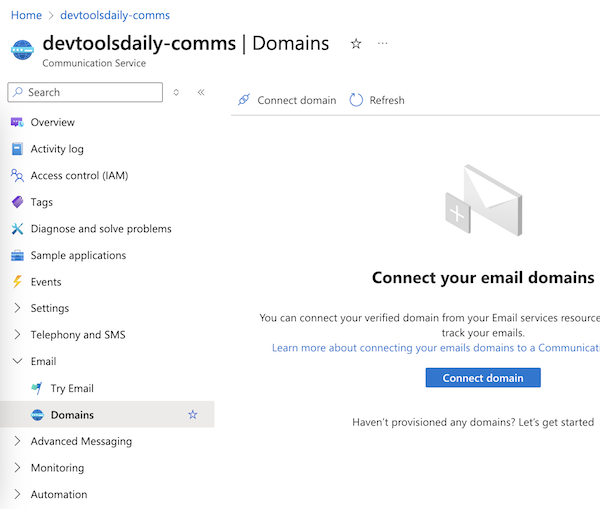
Connect Domain to Communication service
- scroll down to "Email" section in the left menu.
- click "Domains"
- click "Connect domain"
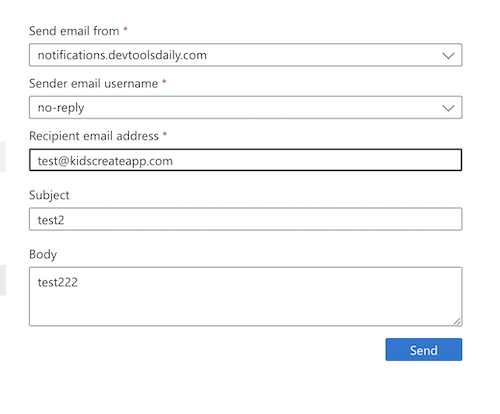
Send email from Azure portal
- open try email
- pick correct doman and reply-to address
To be continued...
In Part 2 we will write a simple Node.js script to send emails using Azure Communication Service.